
There is so much to photography, from finding the perfect light, location, angle, composition, exposure, focus and poses. After you get a photo that you love...then what? Well it is all about the editing! First, I can't emphasize enough that no amount of editing will save a bad picture. The picture must start off with all the above mentioned aspects correct to edit a picture and take it from good to WOW!
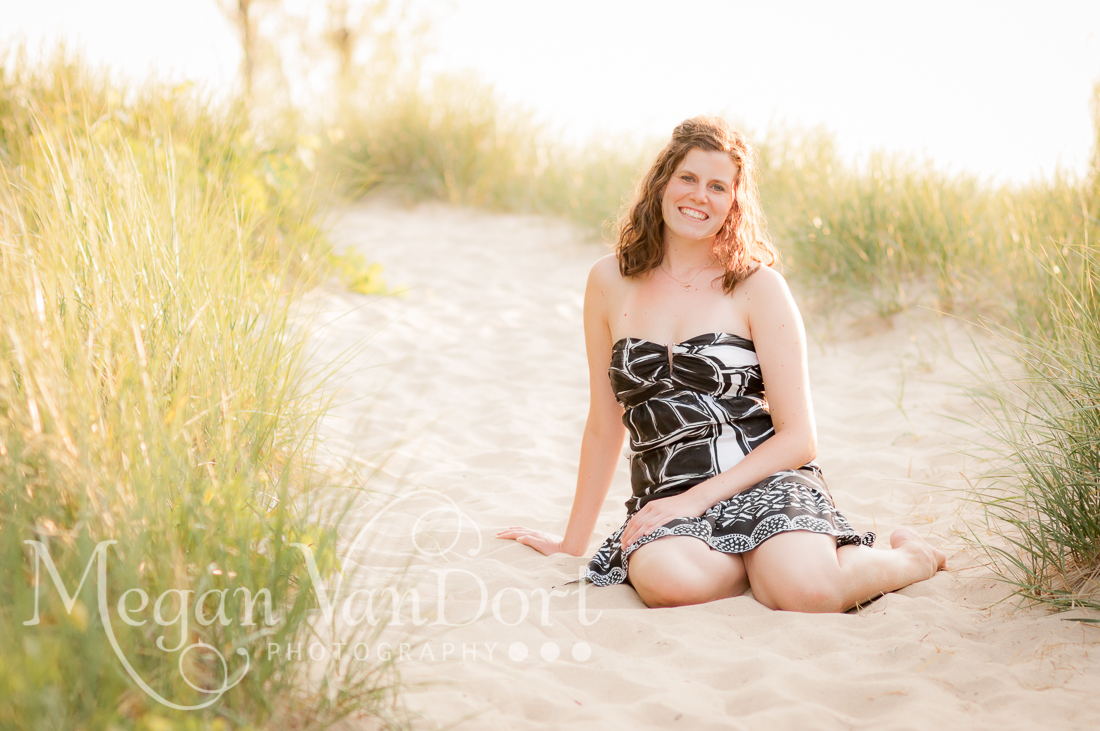
Take this image for example, I took this of a lovely young woman at the beach in Grand Haven when the sun was about to set. You can see that the sun was behind her. We call this a Backlit Photo, which can be hard to get perfect in camera due to exposing for the surrounding area and for the face which is in shadow. This picture is what is called SOOC, Straight Out Of Camera, meaning there is no editing done to it. Essentially it is the before shot.

As you can see, her face is underexposed (dark) and the sky behind her is overexposed, very bright. This is perfectly fine for a shot that is a backlit SOOC image. With some editing however, we can make this picture really pop and stand out! There are many editing programs out there for all different price points. You can spend $50 to $1,000. It really depends what you want to edit for. A couple of great editing programs for all levels of photographers is Lightroom (around $120) or Photoshop ELEMENTS (around $80). I personally use Lightroom 4 and Photoshop CS6 (which runs around $700).
I want to show you how far you can take this picture with a program like Lightroom. First you need to look at the image objectively. What is wrong with the picture above? What can we do to improve it? Lets stick with the basics for this edit for the beginners.
First I notice that her face is underexposed, too dark. By simply adjusting the Exposure Slider in Lightroom I was able to brighten her face. As you can see there are some bright spots on her arm and hair. I wanted to bring those down so they weren't so obvious. To do this I brought down the Highlights slider. This adjustment only darkens the bright areas of the photo. Which will not affect the face. To brighten her face up a little more, I brightened the shadows on her face by moving the Shadow Adjustment bar up.
Though I did some extra editing in Lightroom to get the feeling I wanted, these edits were the foundation of my editing process for this photo. With just a little bit of work, you can go from good to WOW! Isn't she just lovely!
And here they are right next to each other to see the difference.
